Are you itching to hit the road this spring? March is when many RVers dewinterize their RV, prepping it for the travel season. It’s important to not overlook your RV’s exterior. Here are a few reminders on behalf of FMCA and Gary Bunzer, the “RV Doctor.”
With frigid winter temperatures, chances are you haven’t been venturing outside over the past several months to take a close look at your RV. Now is the time to conduct a thorough inspection before you hit the road. A clean RV will more clearly reveal potential problems than a dirty one. So, unless you used a heavy-duty RV cover during the winter, a detailed washing of the RV is necessary. Begin by removing the protective boxes used to cover the plastic roof vents. Also, remove any tape or foil you applied over exhaust vents, such as at the furnace assembly.
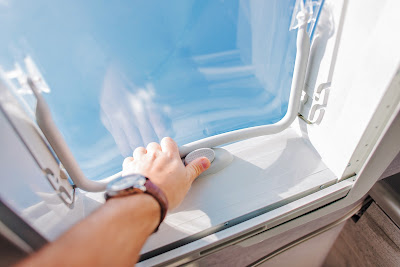
After the coach exterior has been cleaned, begin airing out the unit. Remove the insulating foam inserts that were placed in the windows and roof vents and fully open each window and roof vent. While you are at each window, double-check the weather stripping and the exterior weep holes, ensuring they are still in good shape. If necessary, lubricate the slider tracks on any windows or screens that open.
Perform a complete and detailed inspection of all the roof components, seams, and edges. Now is the time to seal any areas that need attention. Inspect the roof air conditioners for damage incurred during the winter months. Carefully straighten any bent or damaged fins that may be exposed on the condenser coil. Once you get inside the RV, clean or replace the return air filters.
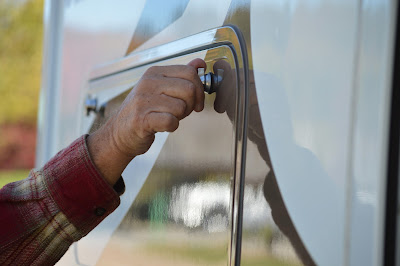
Inspect and operate all compartment bay doors, access doors, access panels, etc. Check the sealant around every window, as well as all components attached to the exterior sides of the RV. Lubricate all mechanical latches and keyed locks. Use a dry lubricant, such as Boeshield T-9. Many RVers use a product like WD-40 to lubricate latches and locks. Products like this should not be considered a lubricant; truly, they are water displacement products that prohibit rust and corrosion.
Operate and lubricate the moving components of all the manually operated awnings. Be sure to consult your RV owner’s manual; awning manufacturer recommendations can vary widely. Use a mild detergent to remove any mold or mildew that may have developed on the awning material since last fall.
Don’t forget to check under the RV and look for anything out of the ordinary, such as darkened areas on the ground that may indicate a leak. Inspect the areas that you made repairs to during the winterizing procedure last fall. You’ll want to make sure those repairs can withstand another season of travel.
Lastly, inspect and lubricate all of your RV’s slide-out mechanisms. Again, be sure to use only a dry lubricant on these mechanisms.
These exterior maintenance steps are a necessary part of readying your RV for the season. Inspecting the RV’s exterior is a step many RVers overlook, but it is an important part of the dewinterization process that should not be forgotten. Take the time now to help prevent potential problems down the road. Safe travels this spring!
FMCA RV Club brings you this monthly tech tip to Enhance Your RV Lifestyle. FMCA delivers RV know-how to its members. Learn more at FMCA.com.
This information is for educational purposes. FMCA shall not be responsible nor retain liability for RVer’s use of the provided information. Prior to making any RV service decision, you are advised to consult with a RV professional.


