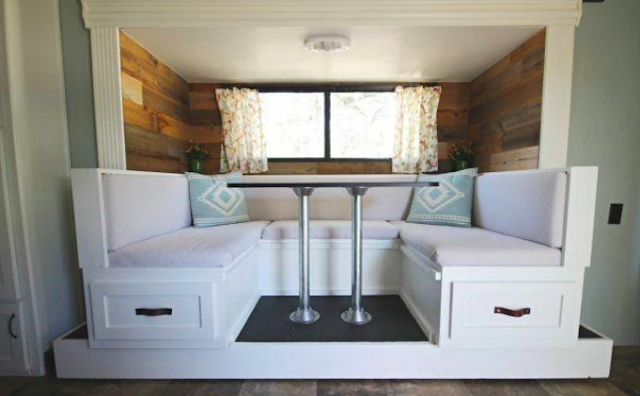
In an RV, a dinette is one of the most useful and functional spaces you will find. For many people, this centrally-located space can be used as a kitchen table, a desk or office space, a craft center, or even somewhere to hang out and watch movies and relax. Dinettes can come as a booth with two benches or as a table with four chairs and vary in size, shape, and color. However, in some older RVs, dinette areas tend to be a bit outdated. Often, they are covered in tacky fabrics, dark woods, and textured wallpapers, and, for some people, this can be a bit of a disappointment when they are considering a purchase. Yet, with some simple changes, you can easily transform your dinette space into an area that you will enjoy utilizing for years to come. Follow along to learn some simple tips for updating and modernizing your RV’s dinette cushions, updating your table, and decorating tips.
Updating Your Dinette’s Cushions
Your very first step in your makeover should be to recover your dinette’s cushions. This will make the biggest overall difference to the dinette space and can provide inspiration for the later steps. If your RV’s dinette is a table and chairs (instead of a booth with cushioned benches), then simply skip this step and move on to the next post, where we will discuss updating your table and decorating your dinette space.
There are three methods you can use to update your dinette’s cushions, as detailed below.
1. Buy New Cushions or Cushion Covers
While different RV dinettes are often made with different sized cushions, there are typically a few different sizes in production. Often, manufacturers will sell either entire cushions (the foam plus the cover) or just the covers. In the second case, you would need to remove your current cushion covers from your dinette cushions and keep the foam for the new covers. If your cushions’ foam is dingy or overly worn, you can always purchase new foam for the cushions from a local craft store, using exact measurements from your older cushions.
Measure your dinette cushions’ height, length and width, and search online for RV cushions. These can often be found on Amazon, eBay, and several different RV supply companies. Keep in mind that you will typically only find solid colors and patterns, and these cannot be customized. Prices will vary depending on the source, so be sure to thoroughly search for the best cushions and best overall deal before making your purchase. This option is not the most customizable, but it certainly entails the least amount of work and the quickest results.
2. Have Your Cushions Reupholstered Professionally
This choice is likely the priciest, but it allows the RV owner more options for customization. Utilizing a professional also tends to yield the best overall results. Find a local seamstress or someone who specializes in furniture reupholstery and is up for the task. In some cases, you must purchase your own fabric, but in other cases, the seamstress can often provide you with fabric from their collection, as well. Keep in mind that this option tends to be very pricey. However, if you have an ideal image in mind for how you want your cushions to look, as well as the necessary resources and a great local seamstress, then this option is the best one for you.
3. Recover Your Cushions Yourself (DIY)
For those with a crafty side, this option is fun, inexpensive, and can also allow you many different possibilities. There are a few different options available for recovering your own dinette cushions, and your skillset and sewing abilities will determine which option you choose. If you have a sewing machine and are up for a challenge, you can follow a tutorial to make your own zip-on cushions at home. These covers can be removed for easy cleaning anytime and will look beautiful and professionally-made if done correctly.
For those with a crafty side but fewer sewing skills, there is another simpler method that will turn out just as beautiful with less work and fewer supplies. To cover your cushions using the no-sew method, you will first need to gather your materials. These include a staple gun and plenty of industrial staples, your fabric of choice, and plywood cut to size for each cushion.
Fabric can be purchased at your local fabric store. Outdoor fabric comes highly recommended, as it is the most durable and easiest to clean. Be sure to purchase more fabric than you need in case of mishaps or inaccurate measurements. When choosing your fabric, keep the overall color scheme and theme of your RV in mind, and be sure to choose a fabric that will match or coordinate nicely. Remember that these cushions are a large piece of your overall space, and choosing a louder or busier fabric could make the space look a bit chaotic. If you choose a simpler fabric, you can always decorate with brighter throw pillows and wall hangings later on.
The plywood can be purchased from your local hardware store. You will need one piece for each cushion (four pieces total for four cushions). Each piece of plywood should be one inch shorter than your cushion foam in both length and width. Once you have your supplies, you are ready to begin. Follow the steps below for a quick and easy process to recover your cushions without sewing:
- Lay the plywood out flat, and place the corresponding foam cushion on top of the plywood.
- Place your fabric over the cushion and plywood.
- Cut the fabric to size, leaving a minimum of 16-18” extra on each side.
- Wrap the cushion very tightly (like a present), and use clamps to hold the fabric in place.
- Flip the cushion over, and staple the fabric directly to the plywood. Use lots of staples to ensure a better hold.
- That’s it!
Of the above methods, whichever you choose is sure to look beautiful and bring a more modern and homey vibe to the overall space. Once your dinette cushions are updated, you can move on to makeover your table and decorating the space.
Follow along for ideas on how to finish up making over your RV’s dinette area.
Update Your Table
RV tables come in a variety of shapes and sizes. If you are wanting to update your table, there is no shortage of things you could try. Each of these possibilities yields beautiful results that will have you excited to enjoy a meal at your new table.
1. Paint + Epoxy
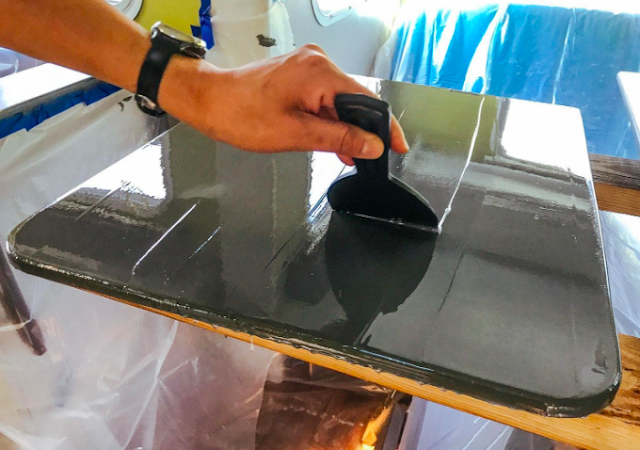
This option is rather simple in theory but requires plenty of prep work and dry time. It involves painting your table in the same way that you would paint a wall or cabinets, but then adding an epoxy layer over top to seal it and protect it for long-term use. For those who use this method, you must first prep the table by sanding it down to allow the paint to adhere properly. Then you must clean thoroughly before painting. Paint two to three coats, allowing a minimum of twenty-four hours dry time in between each coat. Some people paint one solid color, but others may choose to paint a design into the table or even try a faux marble or wood-look painting style. Once you have painted, you are ready for epoxy.
Epoxy is a bit difficult to work with and must be poured slowly and leveled before it begins to dry. Follow along with a more detailed tutorial for more ideas on how to use this method on your RV’s table surface.
2. Laminate Countertop Recovering Kit
If you RV’s table is laminate, this may be a great option for you. Prep work involves sanding and cleaning, as with the previous method. Then, you can use a thick paint to cover the table before applying small paint chips to cover the surface. Next, you must use a sealant to protect the surfaces and ensure your hard work will last. This method is fairly simple and can be completed in just a few days. Kits can be purchased online or at hardware stores and come with all the tools you need for this project.
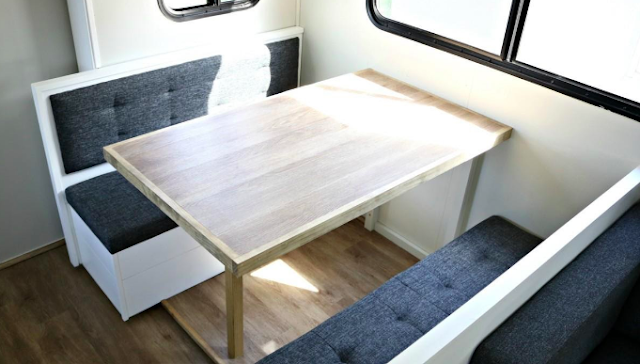
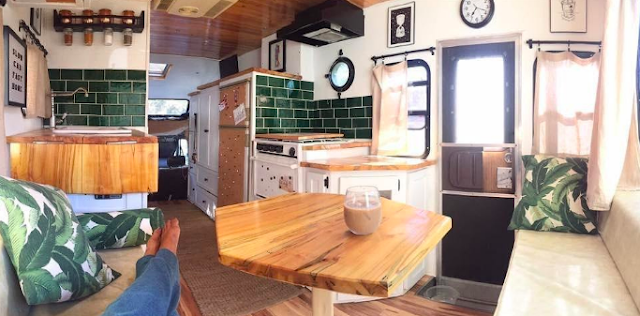
3. Butcher Block or Wood
Butcher block and wooden tables look beautiful in a traditional home, so why not try them out in an RV? For this method, you would need to remove your previous table entirely and build a new one. You can find a variety of woods at hardware stores or through online retailers. You must affix the new wood to the old table post securely. Be sure to seal the wood with a food-safe sealant before finalizing the project.
4. Peel-and-Stick Countertop Covers
This method is also quite popular and holds up quite well, surprisingly. You can find peel-and-stick materials made for countertops at some hardware stores or through a variety of online retailers. They can come in wood-look, marble-look, granite-look, quartz-look, and more. These are cost-effective, lightweight, and simple to install. Simply clean your table well, and press the cover onto the table, starting at one end and working your way over to the next. Use a credit card to press out all the air bubbles, and cut the cover to size.
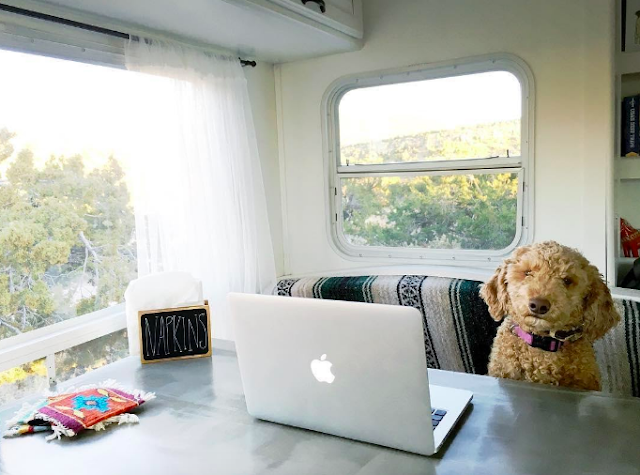
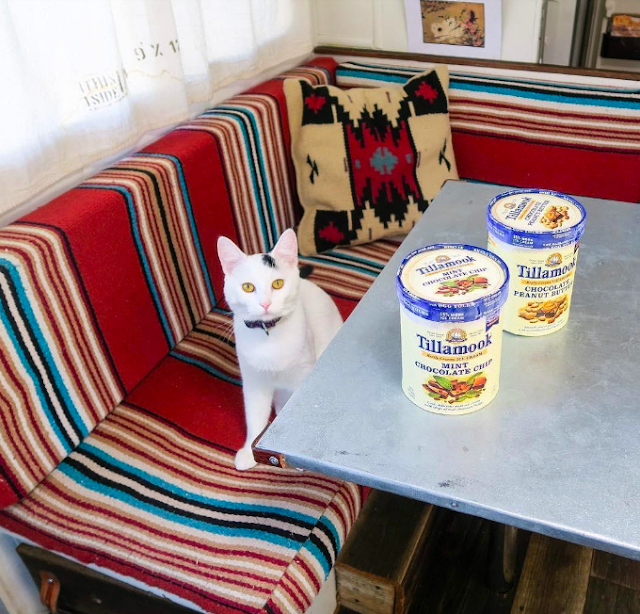
5. Cover in Metal
This method is very artsy and will leave your space with a bit of an industrial look. Thin sheet metal can be purchased at hardware stores and hammered around the edges of the table to cover over the old surface. You must nail the metal into the bottom of the table to ensure longevity.
6. Cover in Leather
Similar to covering your table in metal, you can also cover your table in leather fabric. The fabric can be purchased at your local fabric store ad comes in a variety of colors. Simply cut it to size, and wrap it around your table. Use fabric glue or to adhere the leather to the table, or nail it to the bottom of the table depending on your preference.
7. Build Something Custom
If none of these previous options suit you, you can always build something custom. With this method, options are endless, and you can end up with exactly the look you want. This is great for those who maybe don’t have a dedicated dinette space and want to add one in, or for those who are looking for something a bit more non-traditional. Whatever you try, be sure to keep your RV’s overall weight in mind and always seal with a food-safe sealant before finalizing your project.
8. Buy a Table
This option was saved for last because it is often difficult to find an RV-sized table in stores. However, if you shop around, you may be able to find something you like that is professionally-made and of good quality. Be sure to anchor the table to the ground to ensure it does not slide around during travel.
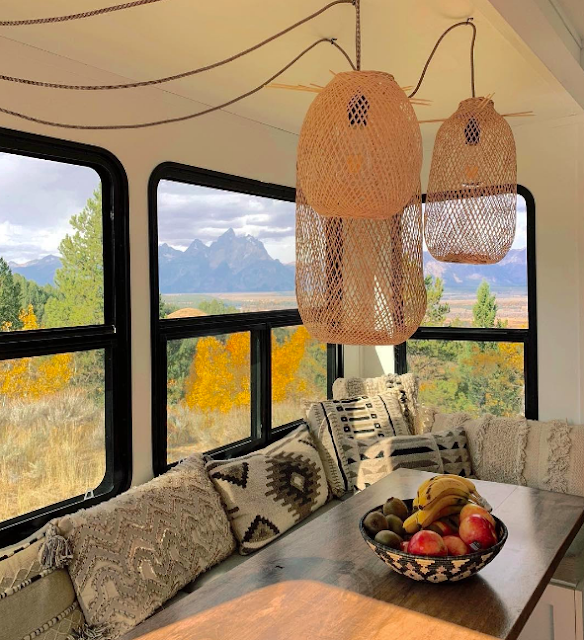
Finish off your dinette space by decorating the area. Consider adding a plant or two to the table to make it feel more homey. Add candles for a seasonal ambiance. Hang some curtains for additional personality. Hang your favorite photo or piece of art on the wall to make it more personal. Add a few throw pillows to make the dinette comfier. This part is where your personality will really shine through, so be sure to add in items that make you happy and add character to the space. And remember, in a small home, less is often more.
Renovating your dinette area is a challenging, yet rather rewarding process that will yield beautiful results and add plenty of personality to your overall space. Updating your table and decorating will add brightness and cheer to your space, leaving you even more excited to take your RV on trips all over the country. Be sure to consider these ideas for a brand-new dinette area that your whole family will love and enjoy.
Have you recovered your RV’s dinette cushions or updated your table? Which method did you choose? Feel free to let us know in the comments below!
Renovating not for you? That’s okay. Check out some of the latest RVs on RV Trader.




One Response
When we bought our 2007 Thor Summit, the dinette was dark and outdated. The upholstery was in shades of burgundy, and the wallpaper borders were a lime green pattern.
We removed the borders and painted the walls. Painted the cabinets above and below the benches.
The foam on the cushions was in great shape, so we just had them reupholstered in a blue striped marine fabric. Great for camping at the beach or lake.
The table was scratched and chipped, so we simply removed the legs from the old table and attached a butcher block…Voila!!!
Before and after pics. Or after and before:
https://www.dropbox.com/sh/l9yfhqe1kd1c5ej/AADzR65w8NkhoFNp883hSGIIa?dl=0