Renovating an RV is an incredibly demanding yet rewarding process. Many people want to enjoy the RV lifestyle but are turned off by older, outdated interiors. For them, remodeling has become a way to create the homey and personalized space of their dreams in a home on wheels. Previously, we discussed the first two steps in the renovation process: painting and adding in new flooring. Once you have completed these two steps, you will be ready to move onto the next step: adding in a backsplash (or two!).
Adding a backsplash into a moving home is a bit of a tricky process, but if you follow the right steps, you should have excellent results. Stick to the following six steps for RV backsplash results that will last for years to come.
1. Determine where you want backsplash and placement
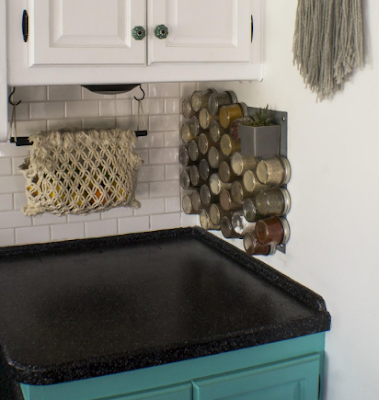
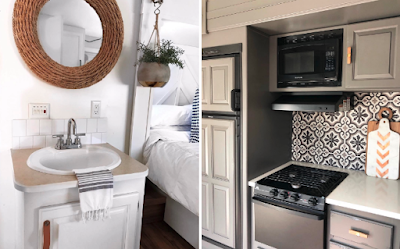
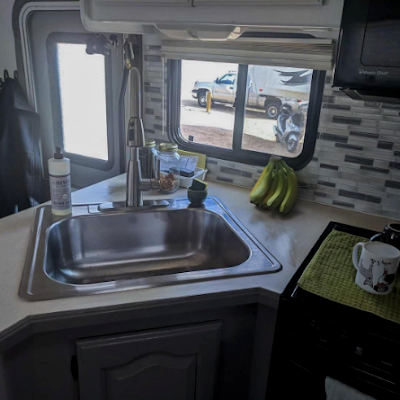
Before beginning any preparation or purchasing for this project, you need to determine exactly where you will be placing your backsplash. Many RVers like to place a backsplash in the kitchen, for both aesthetic and functional purposes. Besides looking pretty, backsplashes tend to minimize mess in the kitchen and make for easier cleanup.
If you decide to place one in your kitchen, you need to determine how much of the kitchen wall it will cover. Do you want it behind the stove only, or do you want it behind the stove and the sink? Or do you want your backsplash behind the entire kitchen, including your stove, sink, and any additional counter space. This is something only you can decide, and it may help to sketch your kitchen with the backsplash placed in different sections throughout. This way you can see exactly what it will look like before you begin.
Some RVers decide to place a backsplash in their bathroom as well. Typically, this would be placed on the wall, between the mirror and the sink. If you decide to install a backsplash in your bathroom, you will need to decide if you want it above the sink only, or if you want it to wrap around the sides of the walls. Use the same method detailed above to help you decide.
2. Decide on backsplash materials
Once you have decided where to place your backsplash, it’s time to choose your materials. The main choices are deciding between a ceramic backsplash and a peel-and-stick backsplash. Many RVers go with peel-and-stick because it’s lightweight, easy to install & remove, and holds up well through travel. Still, it should be noted that not all types of peel-and-stick backsplashes fare well being near heat sources. If you choose to install a peel-and-stick backsplash, be sure to choose one with maximum heat resistance for best results and longevity.
That being said, many RVers have also successfully installed ceramic backsplashes in their kitchens and bathrooms. While it is more work and maintenance, it is certainly possible to have a beautiful, ceramic tile backsplash in an RV, and it may even give your RV interior a homier overall feel.
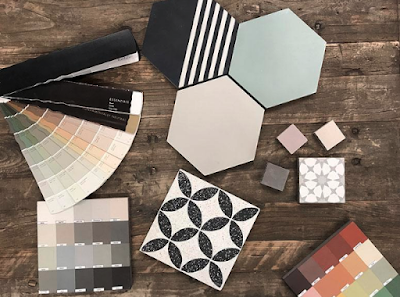
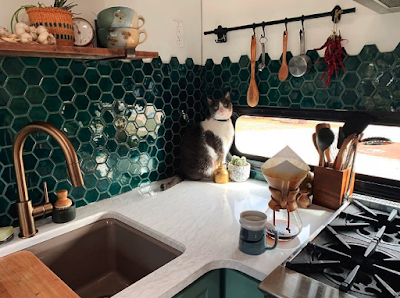
Once you have chosen your desired type of backsplash, it’s time to pick your choice of color and style. Subway tile is beautiful and classic, but there are also many more shapes, colors, and styles possible. Some companies make custom backsplash tiles in a myriad of shapes and colors, so really anything is possible. You will also need to select a matching grout color for ceramic tiles. Whatever you envision for your RV backsplash should be color-coordinated with the rest of your RV for best aesthetic results.
3. Purchase materials
Once you have decided what type of backsplash you want and where it will be placed, it’s time to measure your walls so that you know how much material to purchase. Measure the long side in its entirety, and then measure the height, starting under the cabinets and ending just above the countertop. Add a few extra inches to each side in case of errors – it’s always better to have more than you need than not enough.
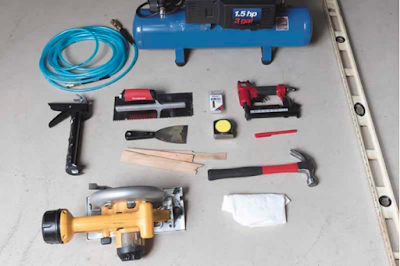
If you’re going with a ceramic backsplash, you will need to purchase tiles, grout, and mortar, as well as a bucket for mixing, spacers, and tools for mixing and applying mortar and grout. If you are installing a peel-and-stick backsplash, you’ll just need to purchase the tiles and extra spray adhesive if you decide to use it.
4. Prep the wall for backsplash placement
Once you have everything you need, you will need to ensure that your wall is prepped before beginning the installation. All this means is that you need to ensure that the wall is flat so that the backsplash can sit correctly. If the wall is uneven or bumpy, the backsplash will have difficulty holding up over time. Fill any bumps or nicks in the all with putty and allow it to dry for twenty-four hours before sanding it down flat.
Likewise, ensure that any wallpaper borders have been removed from the wall. This can be accomplished by using a tool, such as a scraper or a flathead screwdriver, to pull the border away from the wall. Once part of the wallpaper has been lifted, you can begin gently peeling the entire border away. This may take some effort, and you will want to move slowly to avoid tearing the border before it has been removed from the wall.
Once your walls have been flattened and sanded down, it is finally time to begin installing your backsplash.
5. Install backsplash
The process of installing your backsplash will look different for those who decide to use peel-and-stick tiles, versus those who decide to use ceramic tiles. If you are using peel-and-stick, you will want to begin in the lower left corner and work your way across the bottom of the space where you are adding tiles. Spraying additional adhesive on the tiles before placing them may help them to hold up longer, but it is not entirely necessary. Place each block of tiles as close as possible to the tiles next to it. This will help the tiles to lock together for better function and aesthetic purposes. Once you have completed the installation of the bottom row, move on to the next row and continue on until the entire area has been tiled. Take measurements and make cuts for the windows, outlets, and anything else in the space precisely for best results.
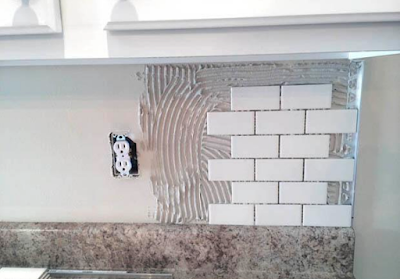
If you are installing a ceramic backsplash, your process will be a bit lengthier and more labor-inducive. Most likely, your tiles will come in sections of pieces, and you should begin in the lower left corner. Before placing tiles, you will need to apply a layer or mortar to hold the tiles in place. Only mix small amounts of mortar at a time, as it dries very quickly. Follow the exact directions on the mortar packaging to ensure your mortar has the proper consistency.
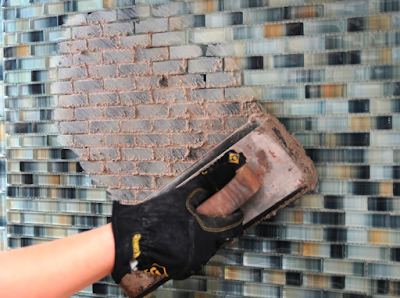
Apply a layer using a mortar application tool, then smooth out the mortar with a smoothing tool. Once the mortar is smooth, you may place your tiles. Apply mortar, smooth it, and place one section of tiles at a time. Place spacers in between the sections of tile for even positioning. Once you have finished one row, move on to the row above and then the row above that until you are finished.
Make cuts for rounded edges, windows, outlets or anything else that is on the all is trickier with ceramic tile. You will need to rent or purchase a tile cutting tool for this part of the project. The stationary machine cutters are usually more accurate and effective then the handheld tile cutters. Mark the exact place to be cut with a sharpie and make cuts carefully and accurately for best results. Once your backsplash has been laid properly, you will need to allow it to dry for twenty-four hours before grouting.
Mix your grout the same way you mixed your mortar and spray grout sealant before applying grout with a smoothing tool in small sections. There will be a thin layer of grout on the tiles while you are applying it. This is okay and can be easily wiped off the grout after it has dried for an additional twenty-four hours.
6. Let “rest” and enjoy!
Your RV should remain stationary for at least a week after installing a new backsplash.This way, the tiles will have time to dry and set before they are taken up to seventy miles per hour down the road. Once your tiles have had time to dry, you are all set to move your RV if need be.
Installing a backsplash in the kitchen and/or the bathroom of your RV makes a world of difference. With each additional detail, your RV will begin to look homier and more modern. Once your backsplash is installed, you are ready to begin the next round of renovation projects: updating window treatments.




0 Responses
Has anyone ever converted a queen bed to a king?
Just did ours. In a 1998 National Dolphin. We bought it pretty much as a wreck October 2018 (it sat buried in sand in a guy's backyard in the sun in Florida for 10 years) Had it on the road December 2018 WHEW! Marathon! We installed the backsplash in July this year. We chose peel and stick clearance tile from Home Depot. It wasn't cheap!. We love it! So far, it still looks great and holds up well by the stove. Gives it a really modern feel!
We would not have enough room in our RV to do that!! The slide is coming right up to the bed. Our regular Queen is taking up all the room, and is hanging over the edge on the foot-end. (We will have to extend the wood in order to sit on the edge of the bed)
I am nearly finished. Need to order a few more peel and stick tiles on line. This will be 3rd order lol. Looks so good decided to do bathroom backsplash as well. So easy! Supposedly heat resistant and about $1.00 a tile.Cut to trim with everyday scissors, no mess. This is brand new 30 ft retro trailer so stayed with vintage look. Will post photos as soon as finished.
I've thought about doing this to ours. A queen is five feet wide and a king is six feet, so you only need to gain six inches on each side. Bear in mind RV mattresses are shorter. I think you can order a short king on Amazon.
Our trailer has a slim wardrobe each side, that I would remove ans do a small nightstand.
Oooooopsie, sorry, this article is about backsplashes. I did peel and stick in bathroom, it looks so much better than just the rubber strip behind the sink, so warm and cozy.